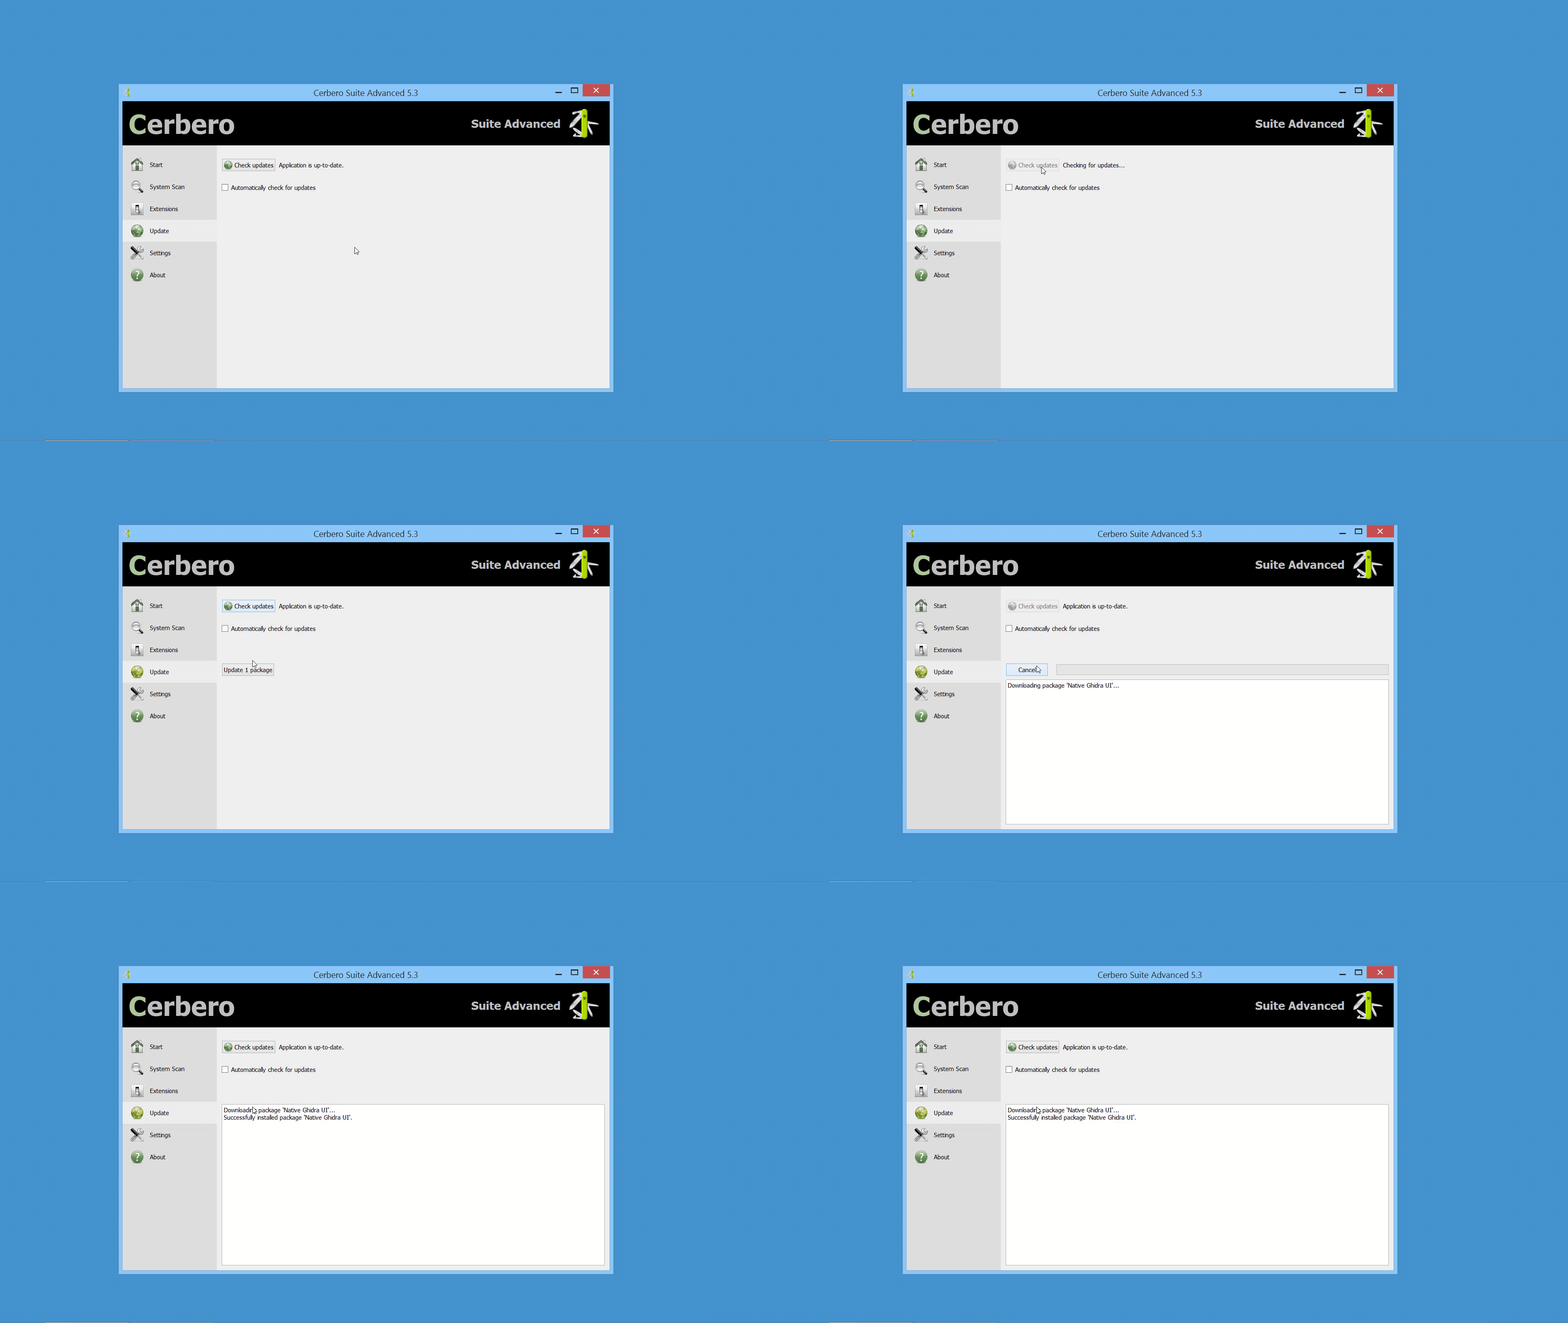
In the upcoming Cerbero Suite 5.1 and Cerbero Engine 2.1 we have introduced installable packages for extensions.
This means that from now on installing a plugin in Cerbero Suite or Cerbero Engine might require only a few clicks or a command in the terminal.

Packages can be managed in Cerbero Suite from the command line, using the Python SDK and of course from the UI. On Windows they can be installed from the shell context menu as well.
From the command line packages can be managed using the following syntax:
-pkg-create : Create Package
    Syntax: -pkg-create input.zip output.cppkg
    --name : The unique name of the package
    --author : The author of the package
    --version : The version of the package. E.g.: --version "1.0.1"
    --descr : A description of the package
    --sign : The key to sign the package. E.g.: --sign private_key.pem

-pkg-install : Install Package
    Syntax: -pkg-install package_to_install.cppkg
    --force : Silently installs unverified packages

-pkg-uninstall : Uninstall Package
    Syntax: -pkg-uninstall "Package Name"

-pkg-verify : Verify Package
    Syntax: -pkg-verify package_to_verify.cppkg
Similarly packages can be installed, uninstalled and verified from Cerbero Engine using the ProManage.py script inside the local ‘python’ directory. E.g.:
python ProManage.py -pkg-install /path/to/package.cppkg
Packages can be signed. When a package is unsigned or the signature cannot be trusted, it is shown by the installation dialog.

A key pair for signing and verifying packages can be generated as follows:
# create the private key
openssl genrsa -out private.pem 4096

# extract the public key
openssl rsa -in private.pem -outform PEM -pubout -out public.pem
The public key must be added to the list of trusted signers. This can be done by placing the generated file with the name of the issuer in the ‘certs/pkg’ directory or by using the UI.

Since packages have their own format, they can be inspected using Cerbero Suite as any other supported file format.

Like the rest of the functionality related to packages, the class to parse packages is located inside ‘Pro.Package’.
Packages must have a unique name, an author, a version number of maximum 4 parts and a description. Packages are created from Zip archives and they can operate in three different ways:
- Relying on the automatic setup, without a setup script.
- Relying on a setup script.
- Relying on both the automatic setup and a setup script.
Out of the three ways, the first one is certainly the most intuitive: all the files in the Zip archive are installed following the same directory structure as in the archive.
This means that if the archive contains a file called:
plugins/python/CustomFolder/Code.py
It will be installed in the same directory under the user folder of Cerbero Suite or Cerbero Engine.
This is true for all files, except files in the ‘config’ directory. Those files are treated specially and their contents will be appended or removed from the configuration files of the user.
So, for instance, if the following configuration for an action must be installed:
[TestAction]
category = Test
label = Text label
file = TestCode.py
context = hex
It must only be stored in the archive under config/actions.cfg and the automatic installation/uninstallation process takes care of the rest.
Sometimes, however, an automatic installation might not be enough to install an extension. In that case a setup script called ‘setup.py’ can be provided in the archive:
def install(sctx):
    # custom operations
    return True

def uninstall(sctx):
    # custom operations
    return True
However, installing everything manually might also not be ideal. In many cases the optimal solution would be an automatic installation with only a few custom operations:
def install(sctx):
    # custom operations
    return sctx.autoInstall()

def uninstall(sctx):
    # custom operations
    return sctx.autoUninstall()
To store files in the archive which should be ignored by the automatic setup, they must be placed under a folder called ‘setup’.
Alternatively, files can be individually installed and uninstalled relying on the automatic setup using the ‘installFile’ and ‘uninstallFile’ methods of the setup context, which is passed to the functions in the setup script.
Custom extraction operations can be performed using the ‘extract’ method of the setup context.
An important thing to consider is that if the package is called ‘Test Package’, it will not make any difference if files are placed in the archive at the top level or under a root directory called ‘Test Package’.
For instance:
config/actions.cfg
setup.py
And:
Test Package/config/actions.cfg
Test Package/setup.py
Is considered to be the same. This way when creating the Zip archive, it can be created directly from a directory with the same name of the package.
Having a verified signature is not only good for security purposes, but also allows the package to show a custom icon in the installation dialog. The icon must be called ‘pkgicon.png’ and regardless of its size, it will be resized to a 48×48 icon when shown to the user.
What follows is an easy-to-adapt Python script to create packages using the command line of Cerbero Suite. It uses the “-c” parameter, to avoid displaying message boxes.
import os, sys, shutil, subprocess

cerbero_app = r"[CERBERO_APP_PATH]"

private_key = r"[OPTIONAL_PRIVATE_KEY_PATH]"

pkg_dir = r"C:\MyPackage\TestPackage"
pkg_out = r"C:\MyPackage\TestPackage.cppkg"

pkg_name = "Test Package"
pkg_author = "Test Author"
pkg_version = "1.0.1"
pkg_descr = "Description."

shutil.make_archive(pkg_dir, "zip", pkg_dir)

args = [cerbero_app, "-c", "-pkg-create", pkg_dir + ".zip", pkg_out, "--name", pkg_name, "--author", pkg_author, "--version", pkg_version, "--descr", pkg_descr]
if private_key:
    args.append("--sign")
    args.append(private_key)

ret = subprocess.run(args).returncode
os.remove(pkg_dir + ".zip")

print("Package successfully created!" if ret == 0 else "Couldn't create package!")
sys.exit(ret)

