Here summarized are the main news of this release of Cerbero Suite 5.7 and Cerbero Engine 2.7.
Expanded AbuseCH Intelligence Package
We have released an improved version of the originally named ‘MalwareBazaar Intelligence’ commercial package. We have renamed the package to ‘AbuseCH Intelligence’ and greatly expanded its functionality.
Check out the video presentation to quickly learn about its features.
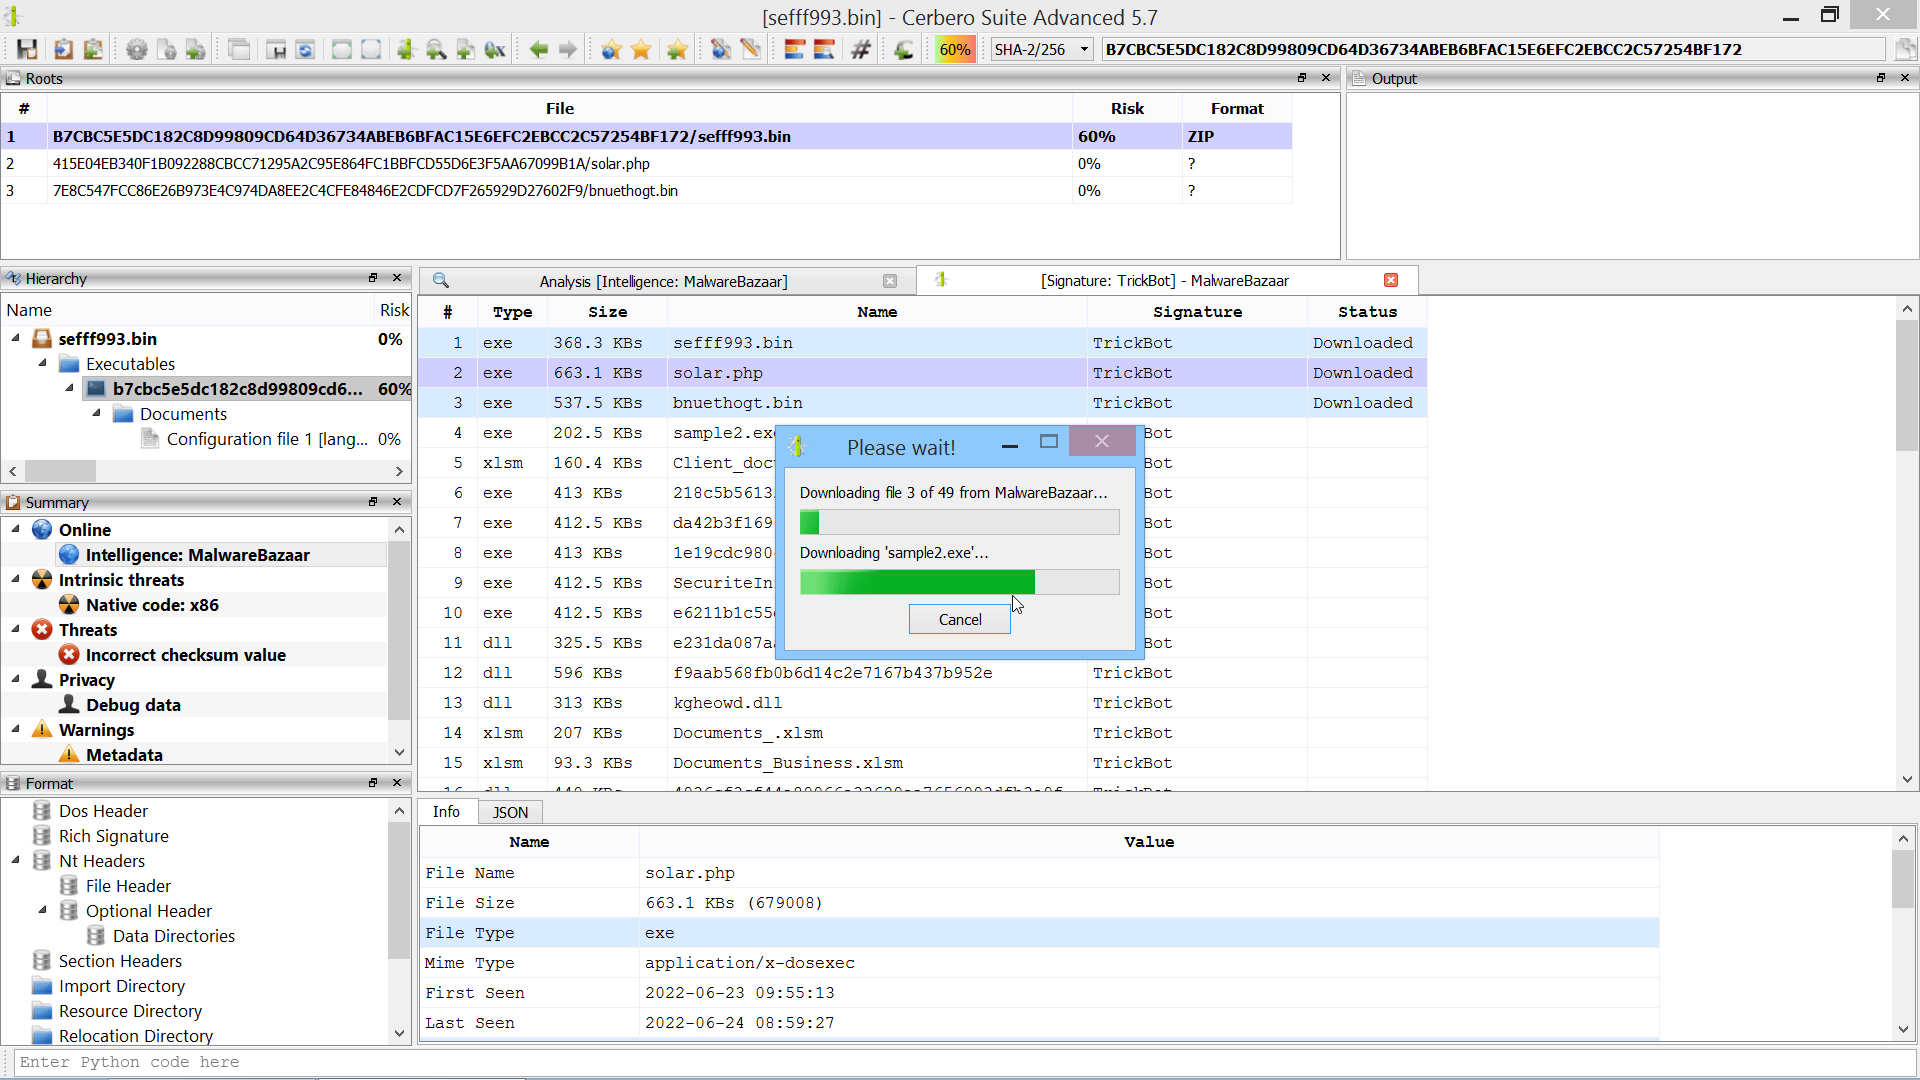
If you want to learn more about the new features, you can read our dedicated post.
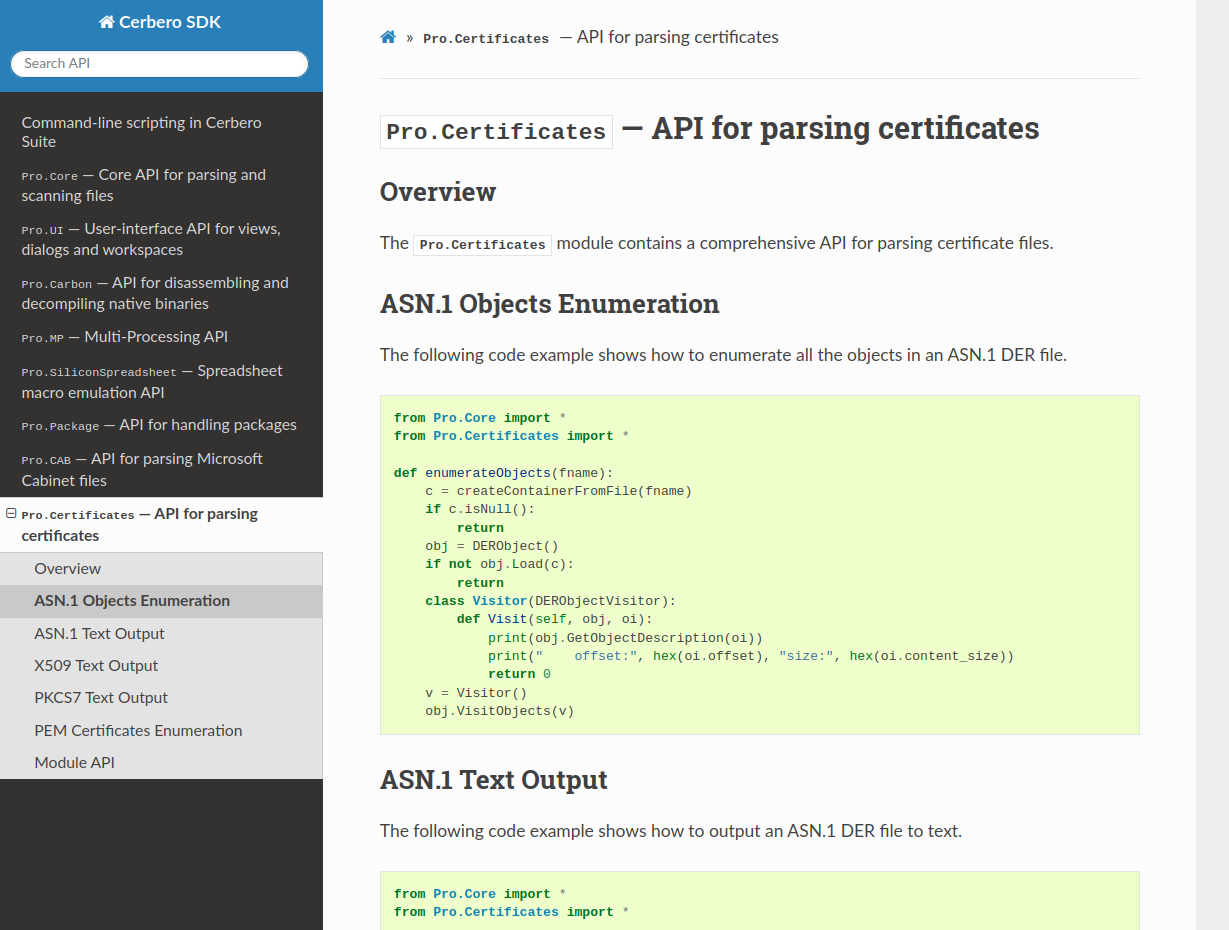
CFBF Module Documentation
We have documented the API for parsing Microsoft legacy Office documents.
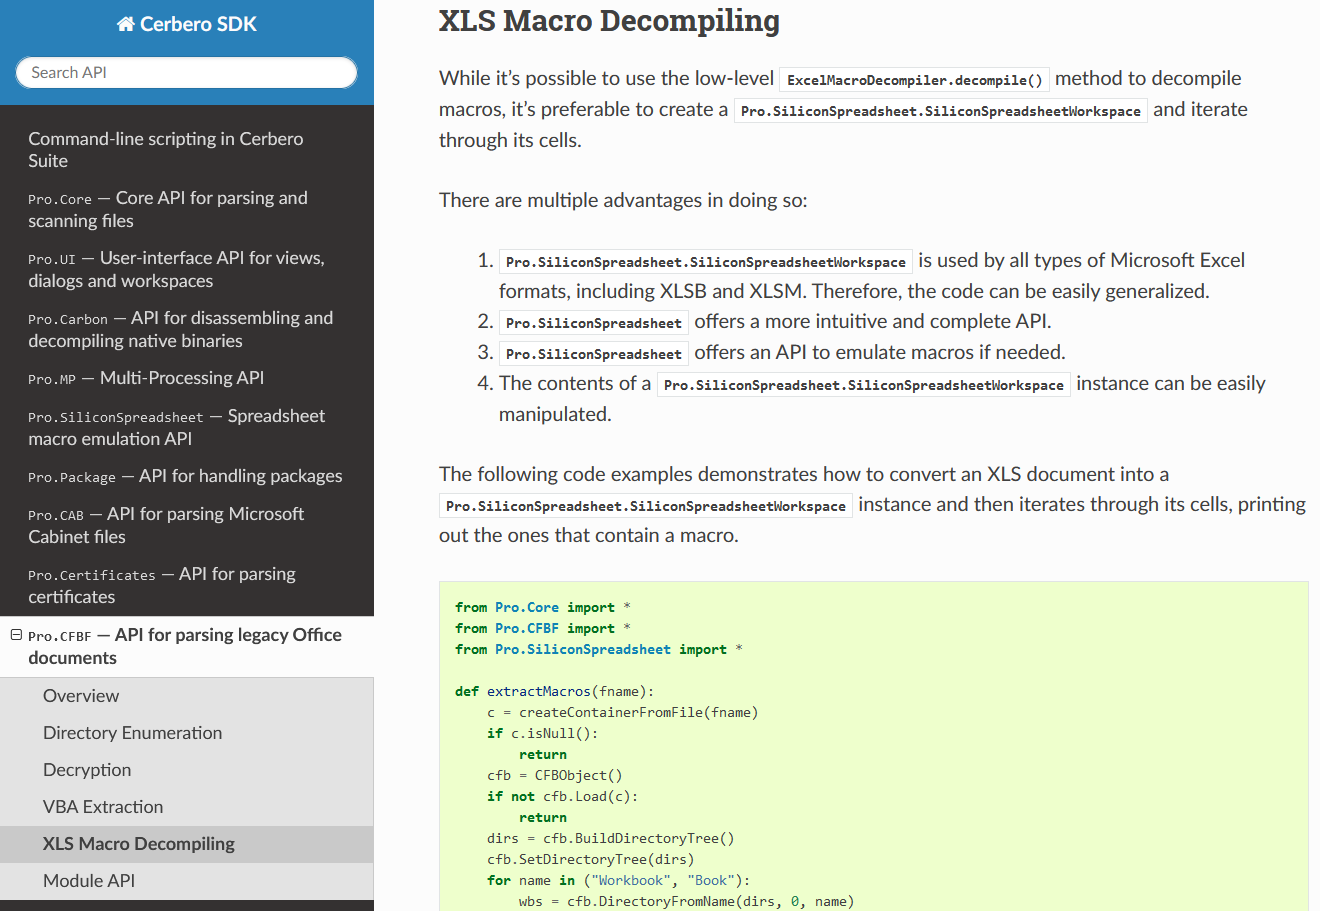
The documentation includes examples that show how to enumerate CFBF directories, decrypt documents, extract VBA code and decompile macros.
Augmented JBIG2 Decoding Security
Our PDF support has been featuring the capability to decode JBIG2 streams for many years.
In this release we have made our already hardened JBIG2 decoding support even more secure by relegating it to a different process and constraining it to a time threshold.
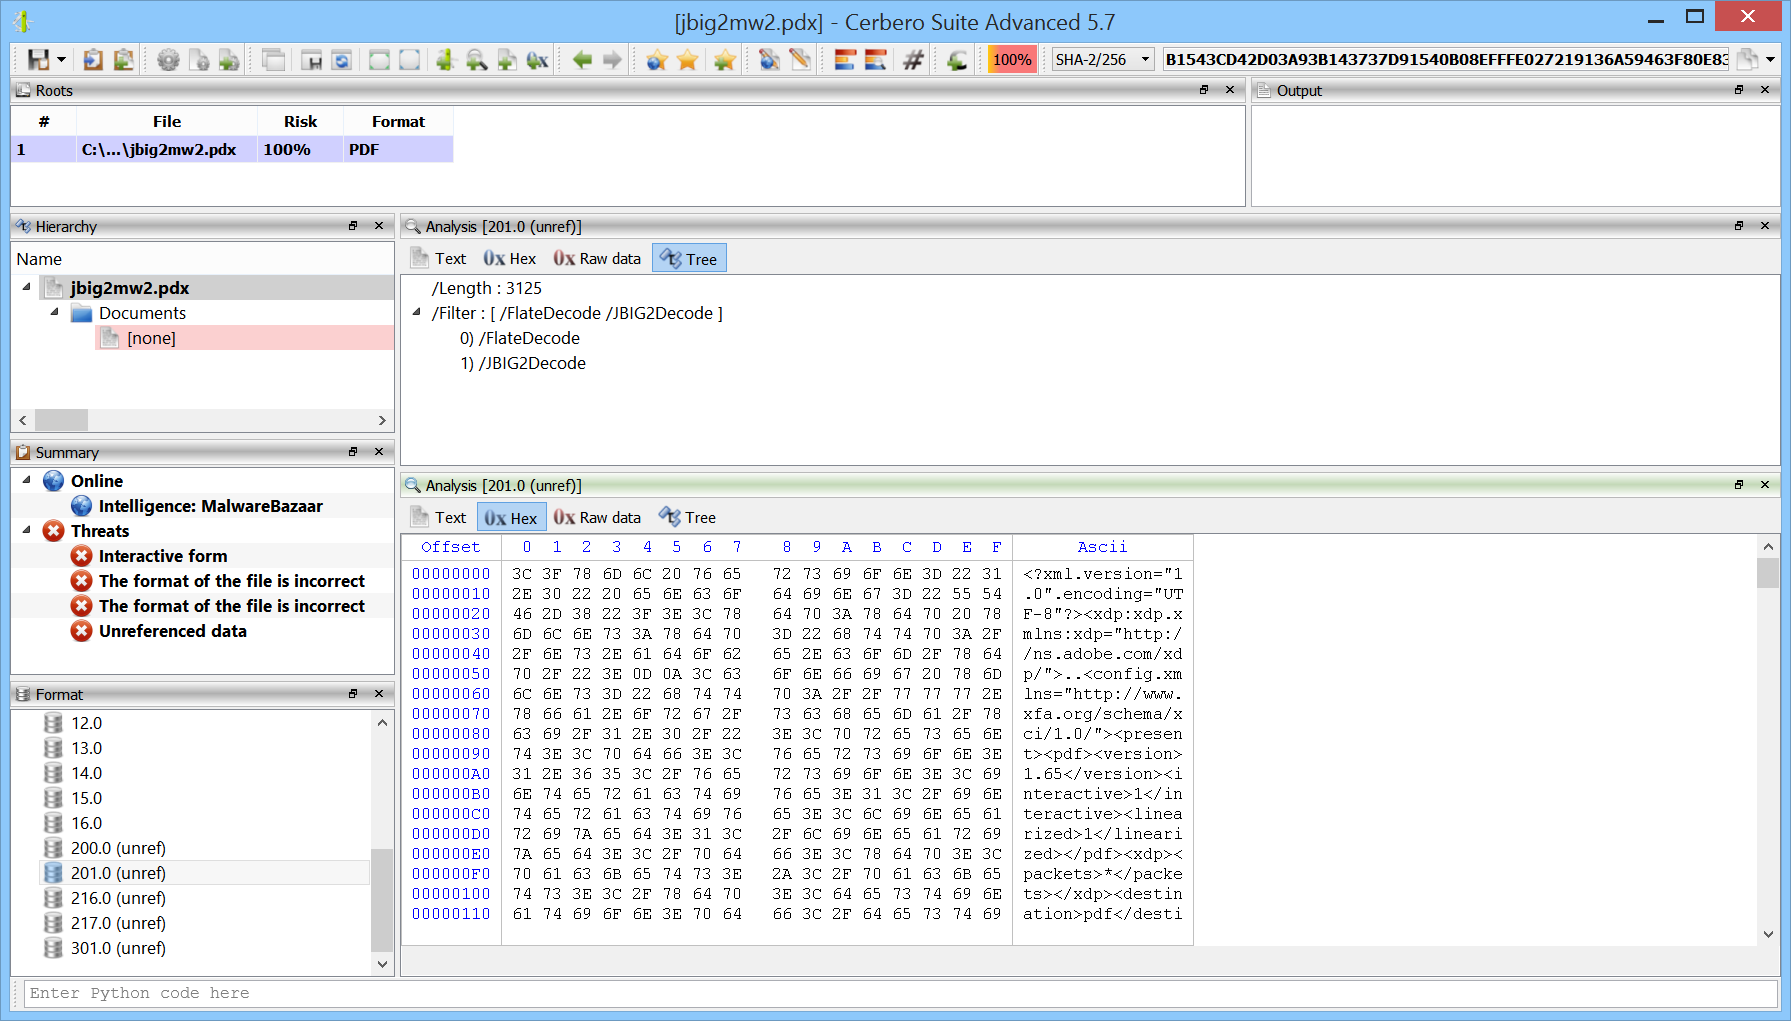
JBIG2 is an imperative file format which has been demonstrated can be Turing complete. In fact, one of the most sophisticated exploits has been created exploiting a JBIG2 library in iOS. The exploit mentioned in the article creates over 70,000 segments to create a small virtual machine in logical operations defined by JBIG2.
Our changes perfectly prevent memory exhaustion and stalling issues: if the decoding process doesn’t complete within a given time, the decoding fails and the issue is reported to the user.
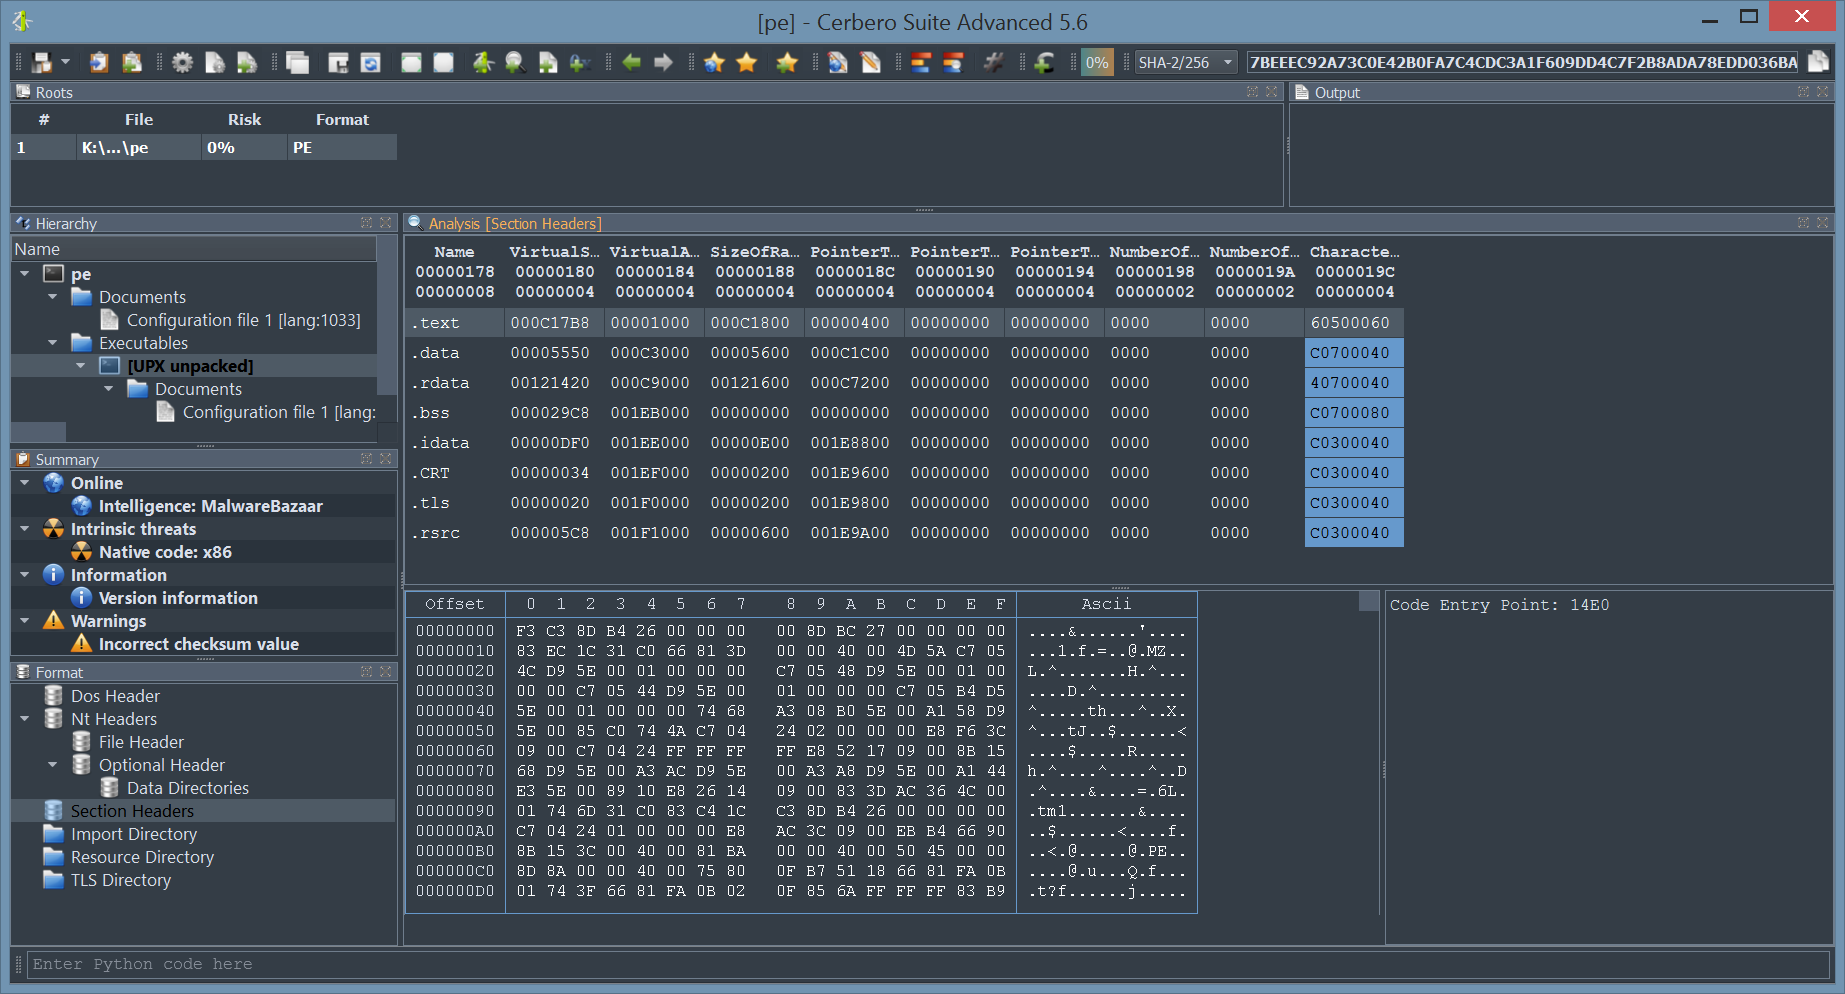
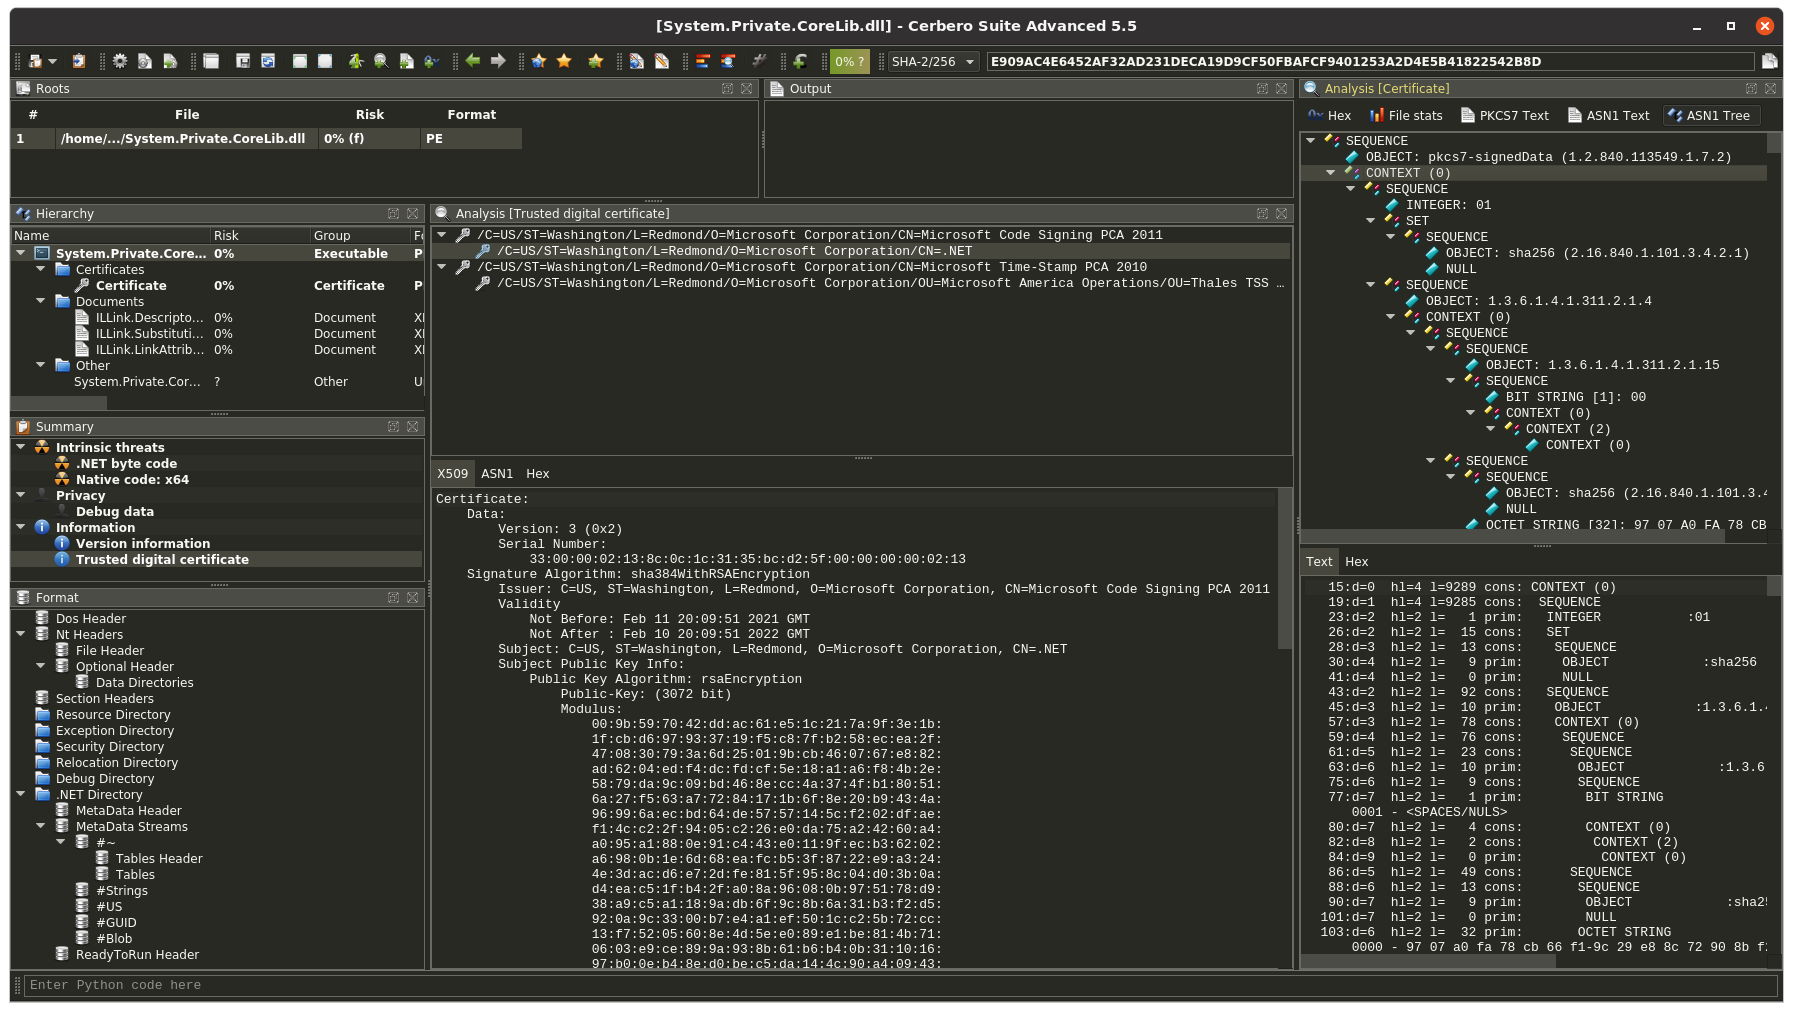
Human Hash
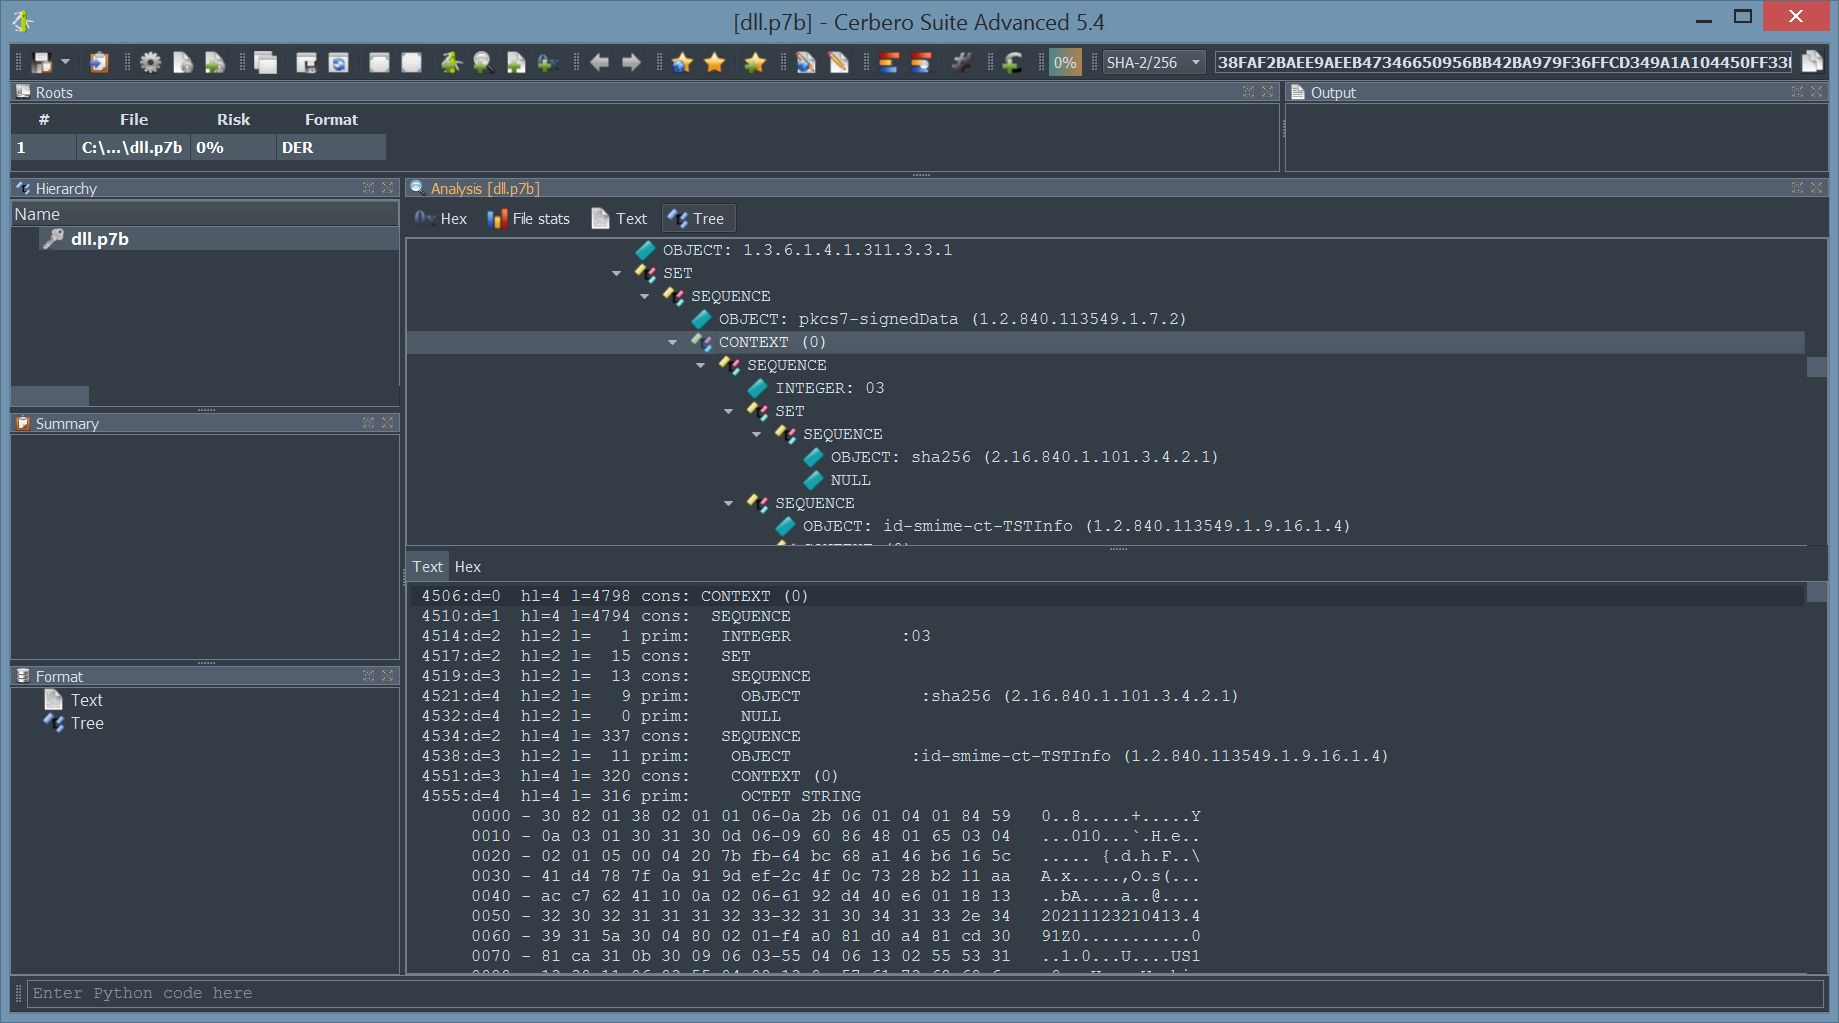
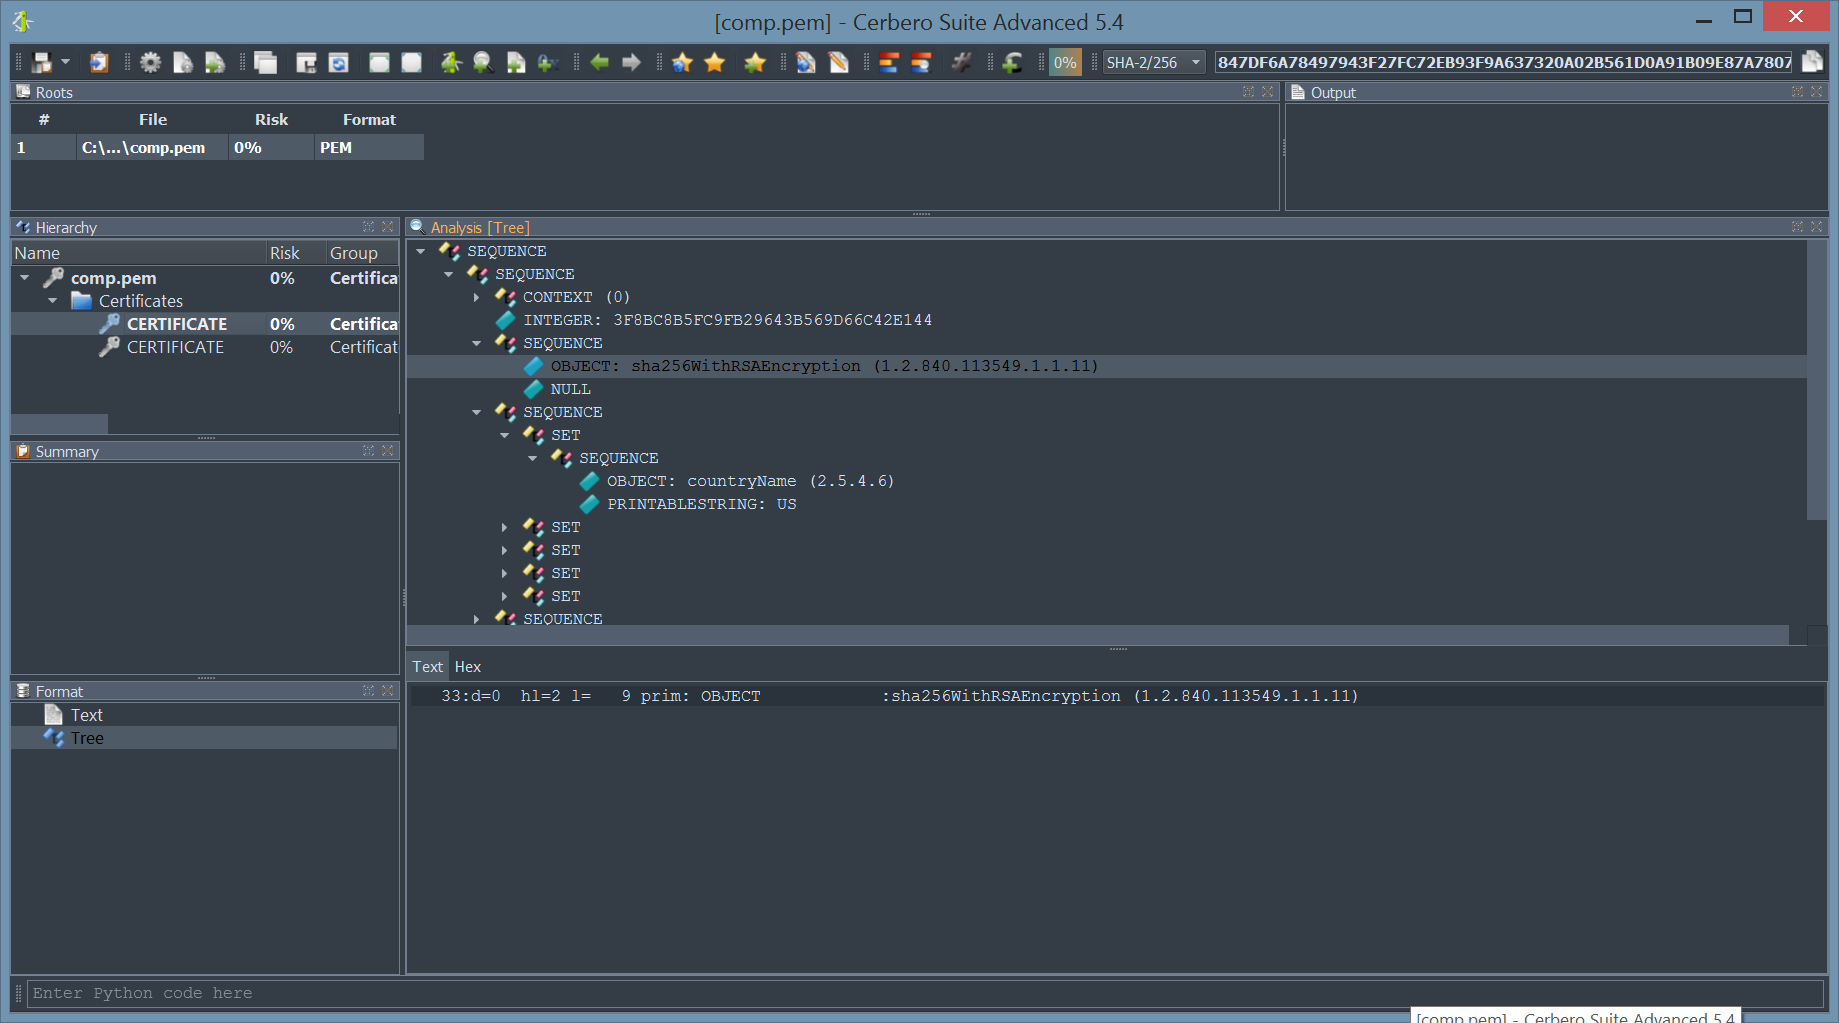
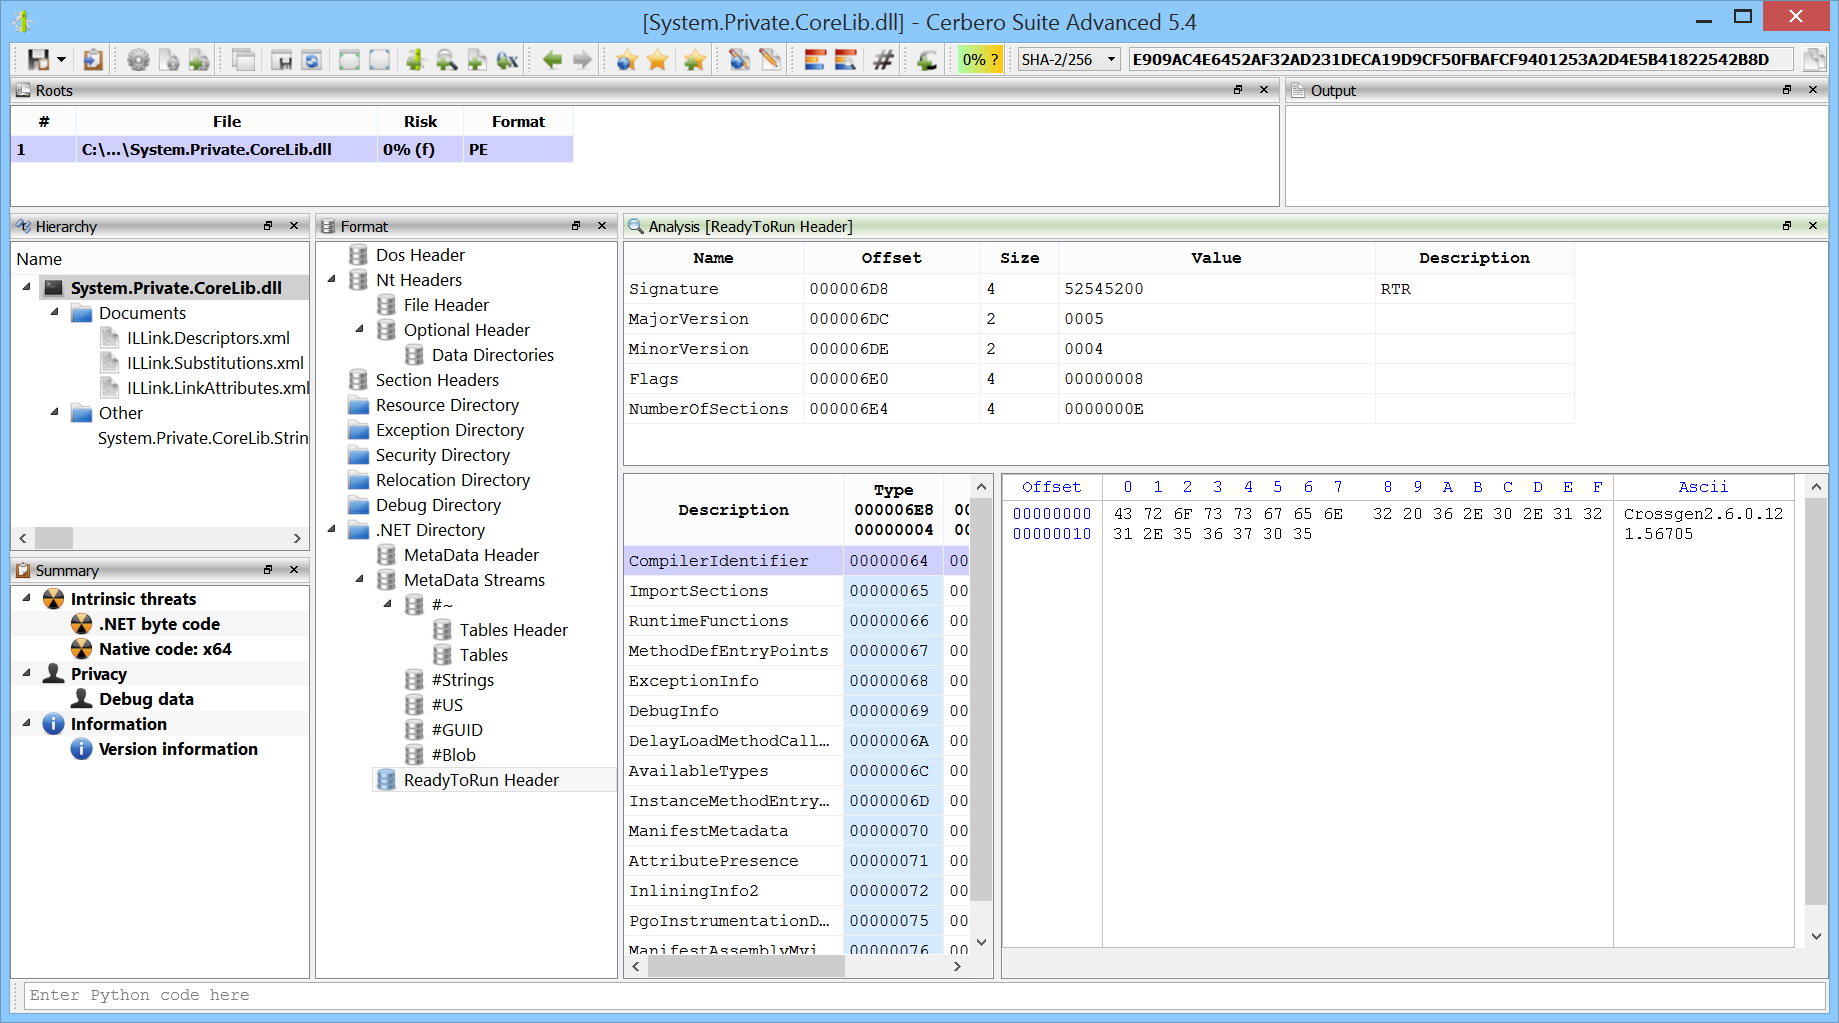
We have integrated human hashes in our analysis workspace. When you rest the cursor on the cryptographic hash of the current object, it displays the humanized version of the hash as a tool-tip.

The humanized hash can also be copied to the clipboard from the drop-down menu next to the cryptographic hash edit box.
While a human hash with a uniqueness of 1 in 4 billions defeats the security of cryptographic hashes, it may be useful when comparing hashes at a glance.
Deflate64 Support
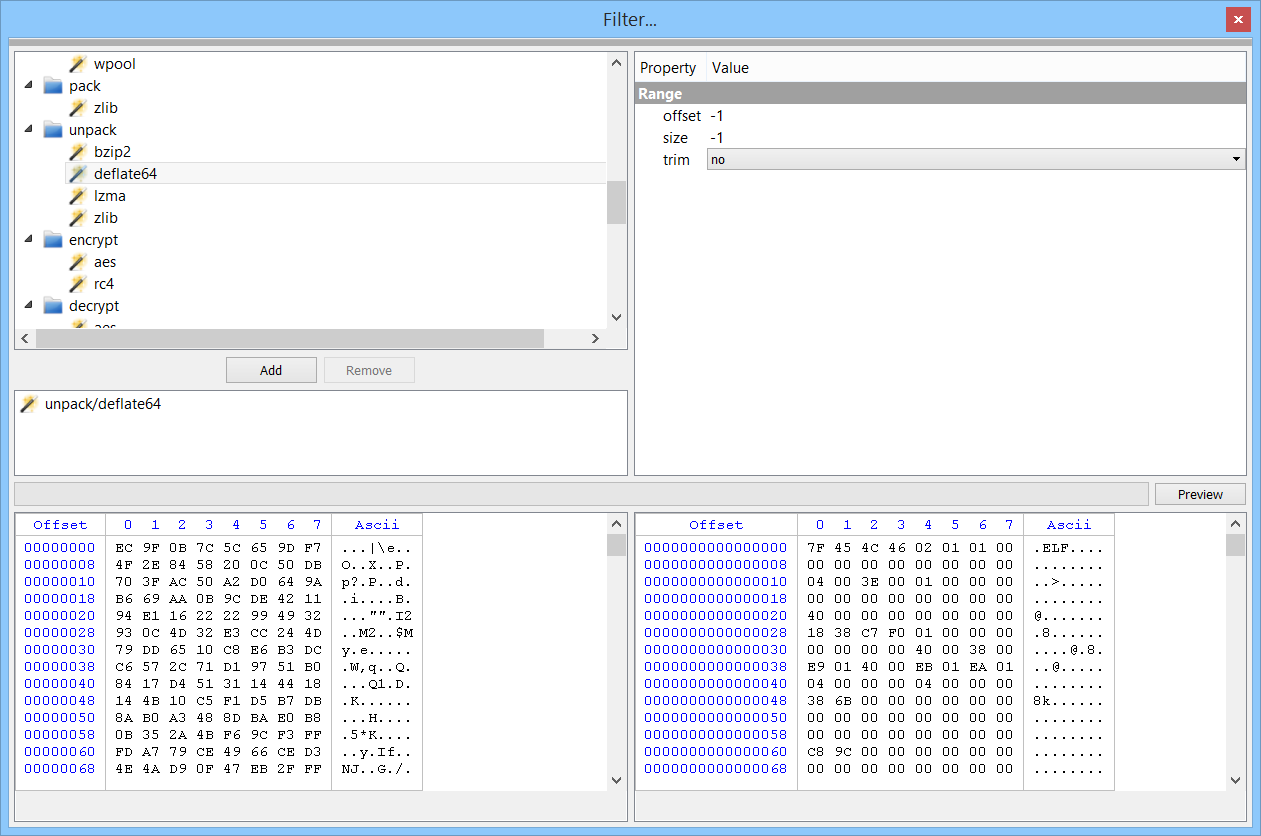
We have added support for the proprietary deflate64 decompression method. The decompression is integrated both in our Zip format support and in our filters technology.
New Python APIs
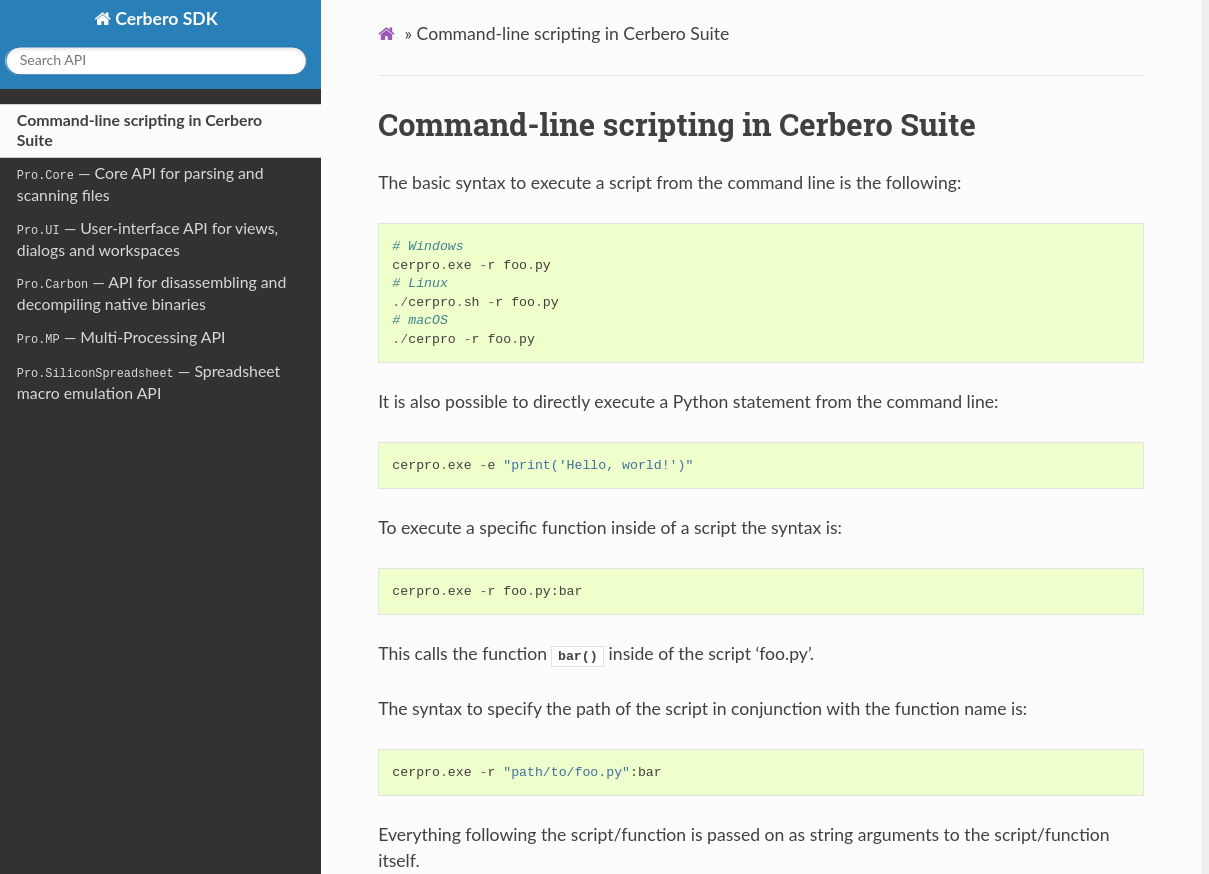
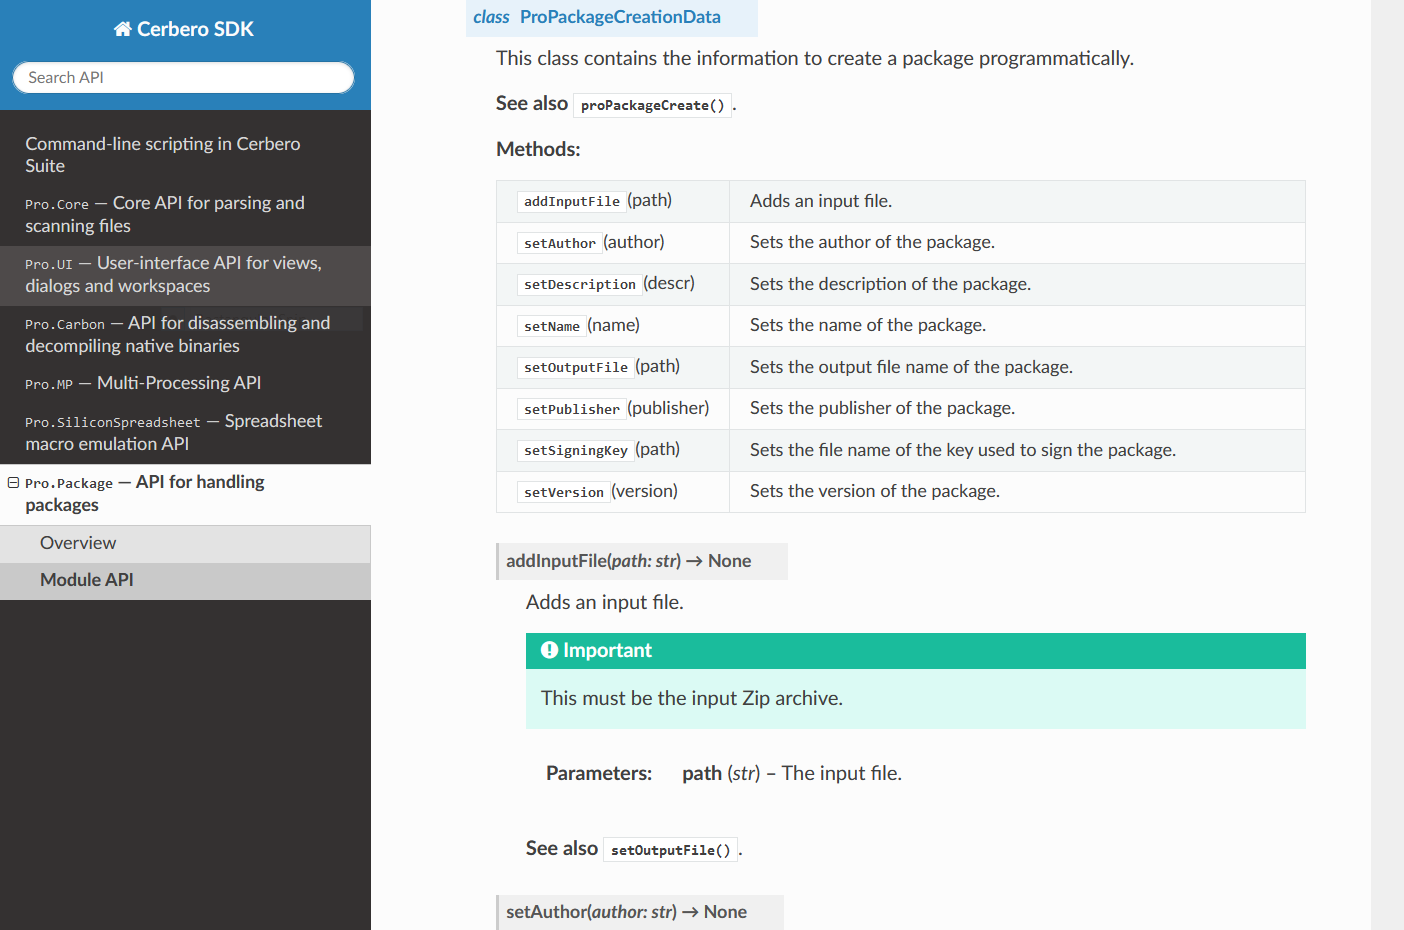
We added a few new APIs to our SDK. The most important addition is the logicProviderArguments method, which can be used by logic providers to retrieve their command line arguments (in case they were invoked from the command line).
This is a small code example of a logic provider init function:
def customLogicProviderInit():
    ctx = proCoreContext()
    args = ctx.logicProviderArguments()
    if not args.isEmpty():
        # has arguments...
Extensions Load Errors
To more easily debug load errors of extensions, we have enabled a debug message which shows only once for each extension which failed to load. This change is mainly directed at developers of extensions.
We have also made other various improvements and fixed a few issues.