We released the FLIR Format package for all licenses of Cerbero Suite.
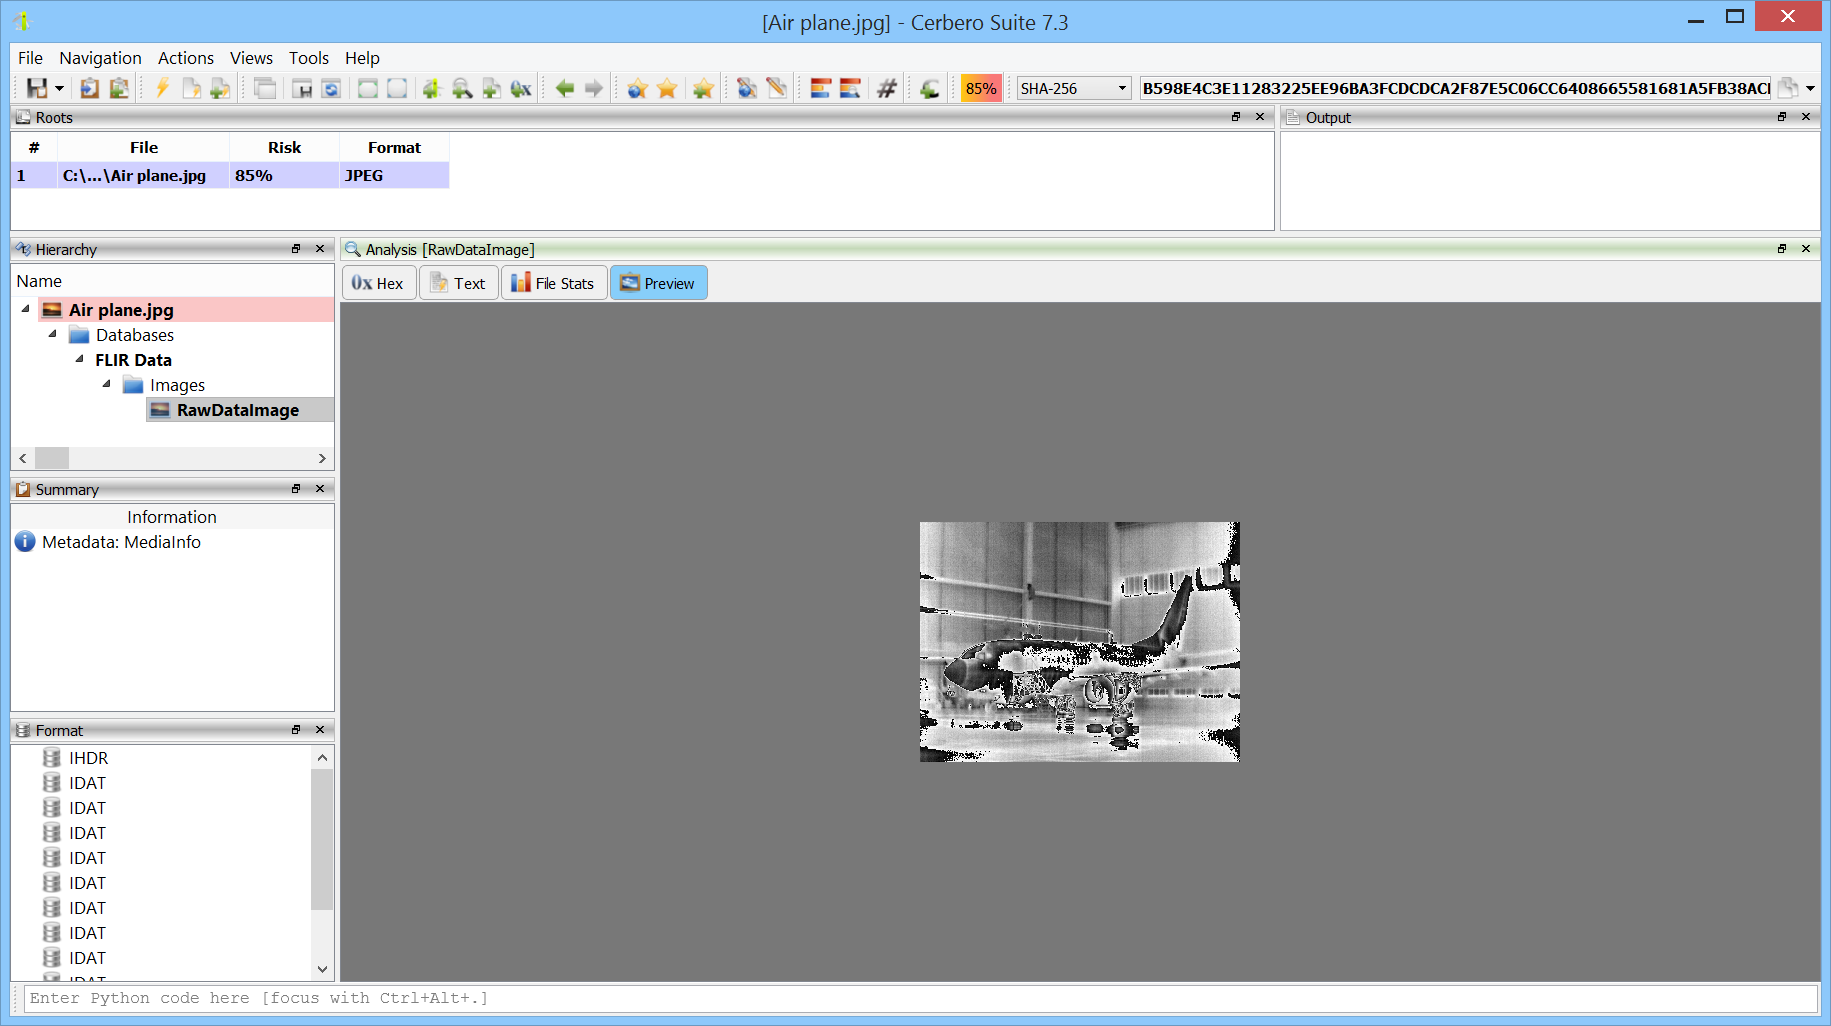
FLIR (Forward-Looking InfraRed) refers to thermal imaging data that is embedded within the JPEG file format. Unlike standard visual imagery, FLIR data represents heat emissions from objects, providing a thermal spectrum view that is invaluable for various applications, from surveillance and security to energy audits and search and rescue operations. When FLIR data is embedded in JPEG images, it allows the combination of visible light information with thermal imaging in a single file.